Ingredients
Equipment
Method
- Bring a large pot of water to a rolling boil. Add the peeled and deveined shrimp and cook for 2-3 minutes until they turn bright pink and opaque. Avoid overcooking as this makes shrimp rubbery. Drain immediately and rinse under cold water to stop the cooking process. Pat the shrimp dry with paper towels.
- In a medium mixing bowl, combine the chili sauce, mayonnaise, soy sauce, and lemon juice. Whisk until smooth and well incorporated. Add the cooled shrimp to the bowl and toss gently to coat each piece evenly with the spicy mixture. Cover and refrigerate for at least 15 minutes to allow the flavors to penetrate the shrimp.
- Rinse 2 cups of sushi rice under cold running water in a fine-mesh strainer, swirling gently until the water runs clear. This removes excess starch and prevents gummy rice. Cook the rice according to package instructions, typically using a 1:1.25 ratio of rice to water.
- While the rice cooks, prepare the seasoning mixture. In a small saucepan, combine rice vinegar, sugar, and salt. Heat over low heat, stirring until the sugar and salt dissolve completely. Do not boil.
- Once the rice is cooked, transfer it to a large wooden or glass bowl (metal can react with the vinegar). While the rice is still warm, drizzle the seasoning mixture over it. Use a rice paddle or wooden spoon to fold gently in a cutting motion, being careful not to mash the grains. Fan the rice while mixing to help it cool and develop a glossy appearance. Cover with a damp cloth until ready to use.
- Cut the avocado in half lengthwise, twist to separate, and remove the pit. Score the flesh into thin slices while still in the skin, then scoop out with a spoon. Slice the cucumber lengthwise into thin matchstick pieces (julienne), removing the seeds if they’re particularly watery.
- Cover your bamboo sushi mat completely with plastic wrap to prevent rice from sticking. Have a small bowl of water nearby to keep your hands moist. Arrange all your prepared ingredients within easy reach: seasoned rice, marinated shrimp, avocado slices, cucumber strips, and toasted sesame seeds.
- Place one nori sheet on the prepared mat, shiny side down. Wet your hands with water and take a generous handful of sushi rice (about 3/4 cup). Spread the rice evenly across the nori, leaving a 1-inch border at the top edge. Press gently to create an even layer about 1/4-inch thick.
- Arrange 3-4 pieces of marinated shrimp in a horizontal line along the center of the rice. Place avocado slices and cucumber strips parallel to the shrimp. If you prefer extra heat, add a thin drizzle of sriracha over the fillings.
- Lift the edge of the bamboo mat closest to you, using your thumbs to hold the filling in place with your other fingers. Roll the mat away from you, tucking the near edge of the nori over the filling to create a tight cylinder. Apply gentle, even pressure as you continue rolling.
- When you reach the exposed nori border, moisten it lightly with water using your fingertip. Complete the roll, pressing gently to seal. Give the completed roll one final squeeze through the mat to ensure it’s compact and holds together.
- Transfer the roll to a cutting board. Using a very sharp knife dampened with water, slice the roll in half. Clean the knife, then cut each half into 4 equal pieces, creating 8 pieces total. Repeat with remaining ingredients to make 4 complete rolls.
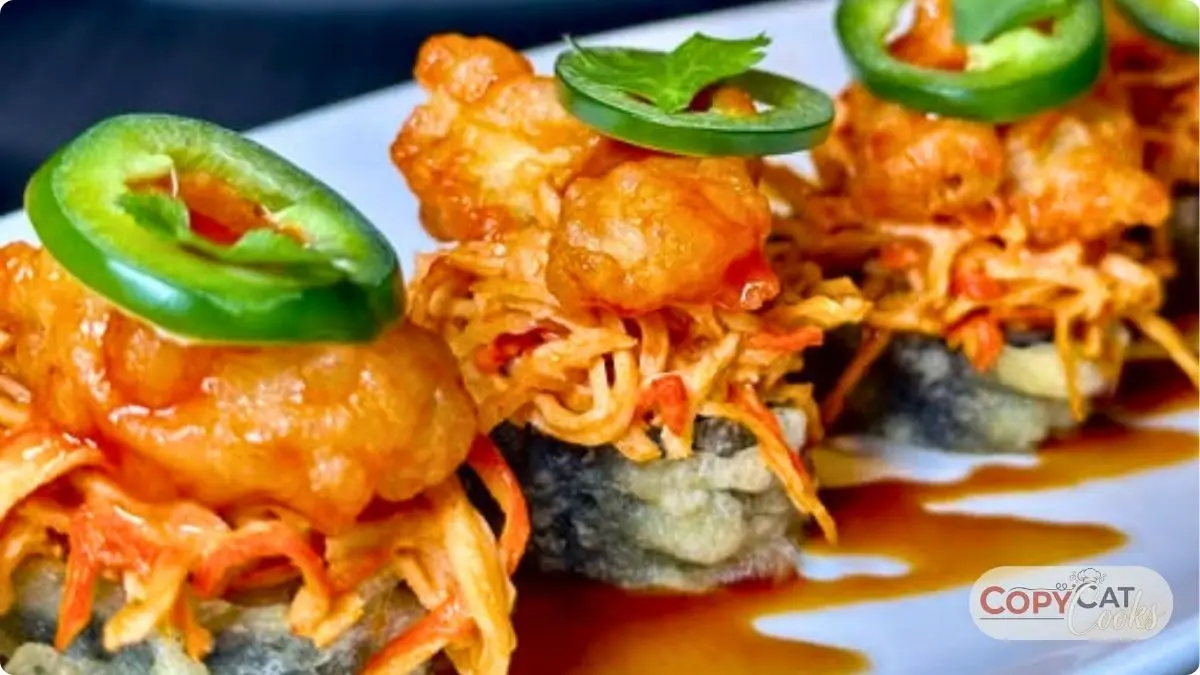
- Arrange the sushi pieces cut-side up on a serving platter. Sprinkle generously with toasted sesame seeds. Serve immediately with pickled ginger, soy sauce, and wasabi on the side.
Video
Notes
Fresh sushi is best enjoyed immediately, but you can store leftover chili shrimp roll in an airtight container in the refrigerator for up to 24 hours. Do not reheat sushi rolls, as this compromises texture and food safety. Allow refrigerated rolls to sit at room temperature for 10-15 minutes before eating to restore optimal texture and flavor.